Using Git in NetBeans
Introduction
Before initializing a project in NetBeans, first create the project using the GitLab web interface as described in Setting Up Git for This Class.
General documentation on using NetBeans with Git can be found here: https://netbeans.org/kb/docs/ide/git.html. Notice in particular the sections on Working with Remote Repositories.
Directions for the Project Creator
This procedure should be performed by one team member to initialize the project content. See “Using an Existing Project” below for directions for other team member(s) to use the project.
Creating Initial Project Content
One member of a team (Assignment Group) will create the initial content for a project, commit it, and push it to the GitLab remote server. The other team member will then pull the content from the remote server and check out the project.
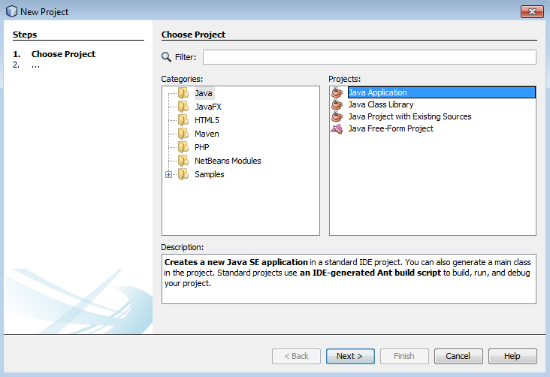
The first team member should create a new project in NetBeans. Select “File” from the top menu, then “New Project”. In the resulting dialog, select category “Java” and Project “Java Application”.
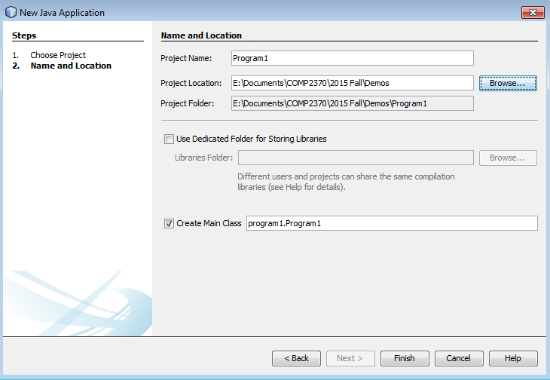
Click “Next”. The “New Java Application” dialog will allow you to specify the Project Name, and the directory location for the project. Normally you’ll want to make sure that the box is checked for “Create Main Class”.
Click “Finish” to create the project, which will appear in the “Projects” panel on the left side of the screen.
Creating the Local Git Repository for the New Project
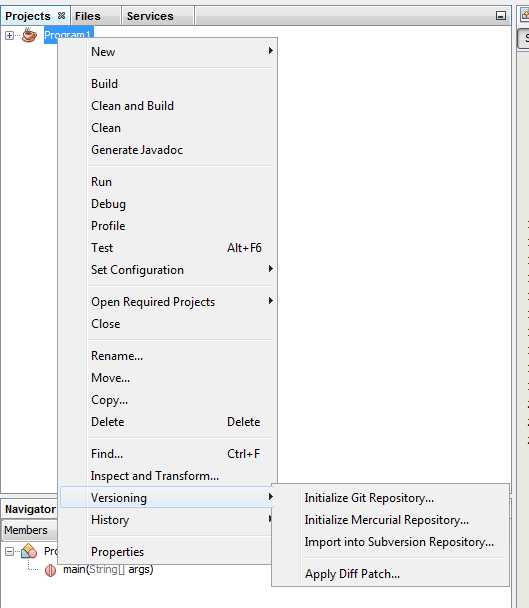
Right click on the project name in the Projects panel. Go to the Versioning sub-menu, and select “Initialize Git Repository…”.
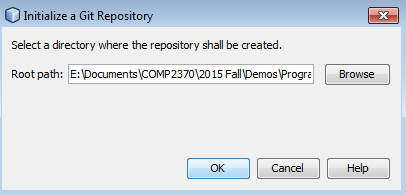
This will bring up a dialog asking for the location of the local Git repository. You may use the default, which is the same directory where your project is located.
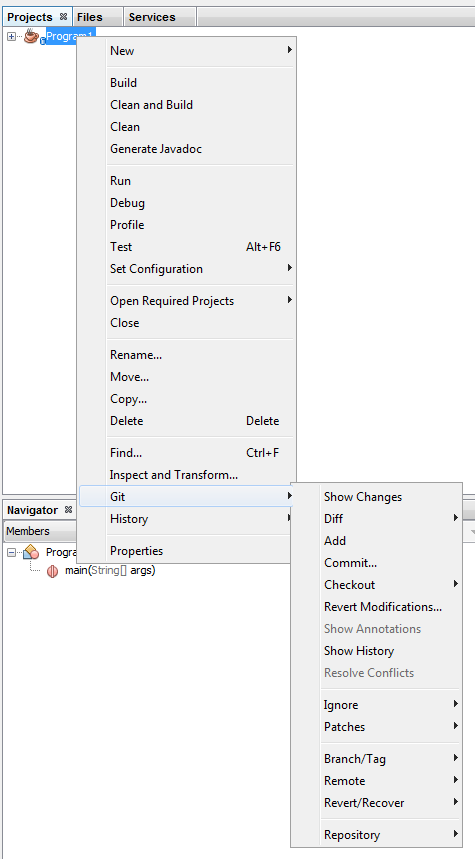
After clicking OK on this dialog, right click again on the project name in the “Projects” panel on the left. Select “Git”, and then “Commit…”.
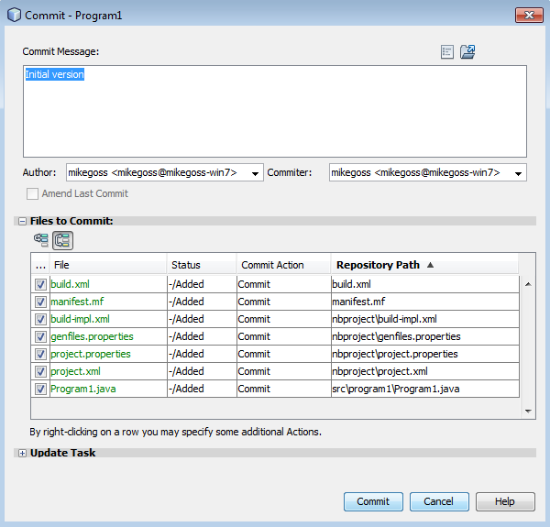
You’ll see the Commit dialog, with a list of the files to be committed (source code Program1.java, plus NetBeans project files). Enter a comment in the “Commit Message” box, then click the “Commit” button at the bottom of the dialog.
Now the project is in the local Git repository, and you’ll push the content to the remote (GitLab) repository.
Pushing Content to the GitLab Remote Repository
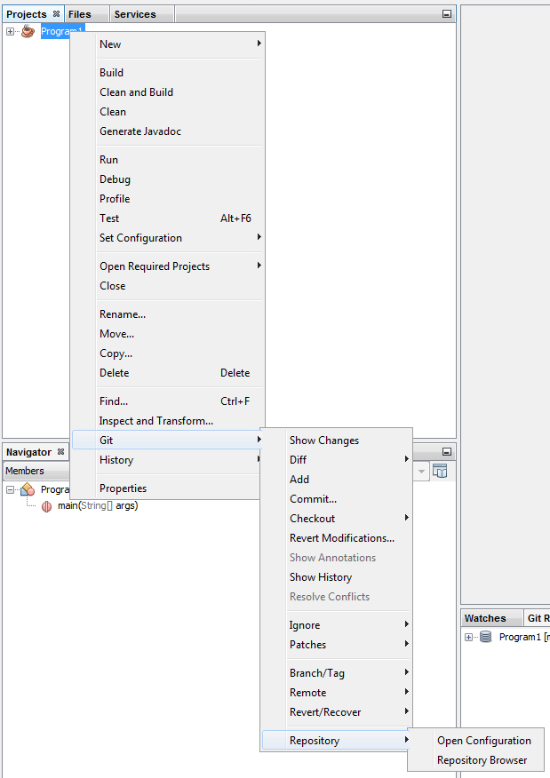
If the Git Repository Browser is not already visible in NetBeans, right click on the project, select “Git” from the popup menu, and the “Repository” from the second popup. Click on “Repository Browser” to open the Git Repository Browser window pane.
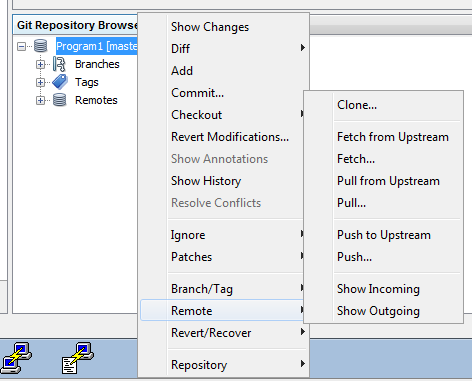
Go to the Git Repository Browser pane, right click on your local repository name (normally the same name as your project), select remote from the popup menu, and the select “Push…”.
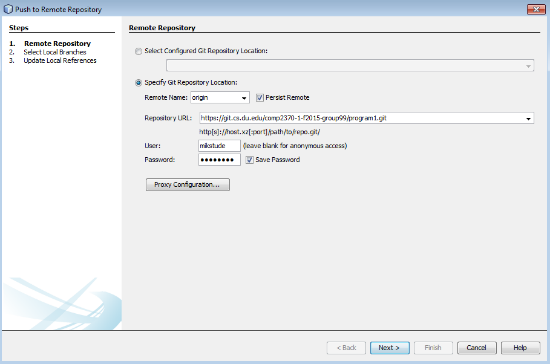
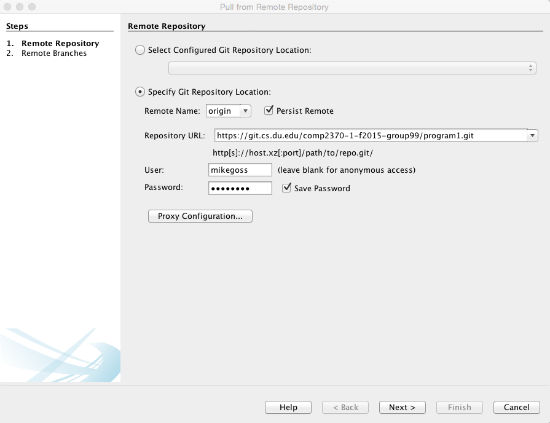
In the resulting dialog, select “Specify Git Repository Location” and paste the HTTPS URL for your project (see the last step in Setting Up Git for This Class). Leave “Remote Name” as “origin”, and leave “Persist Remote” checked. Enter your CS Unix user name and password. You may check the “Save Password” box. Then click “Next”.
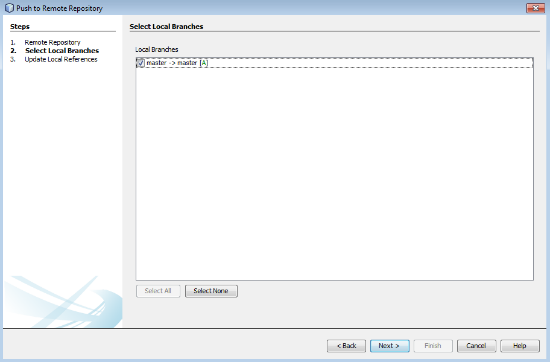
The next step asks you to select local branches. There should just be a single branch, “master”. Select it and click “Next”.
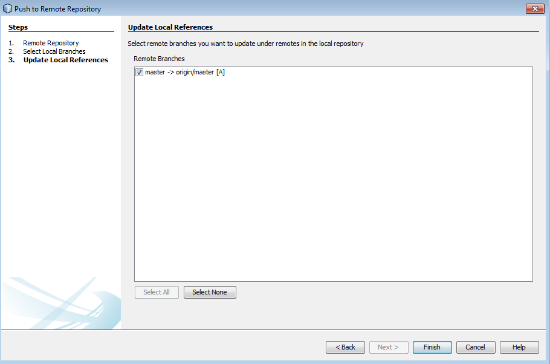
Similarly, the in next step, “Update Local References”, select “master” and then click “Finish”.
You will then see a dialog box asking if you want the local to track the remote branch. Click “Yes” (the default).
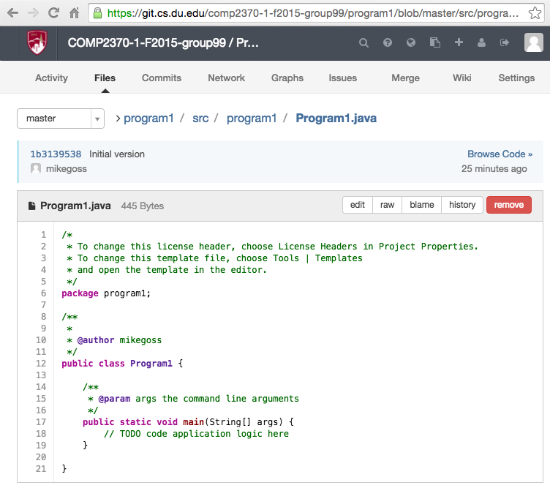
Your project content has now been pushed to the GitLab server. You can verify this by visiting the project page in the GitLab web interface, clicking on “Files”, and opening a file to verify its contents.
Using an Existing Project
One your teammate has added you as a group member, created a project, and pushed the project contents to the remote server using the procedure above, you can synchronize the project on your computer in NetBeans using the following procedure.
Create Your Local Repository
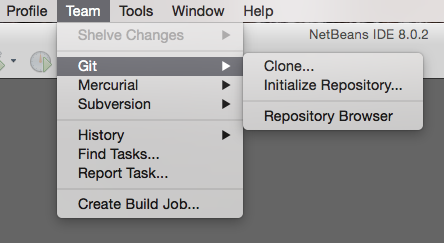
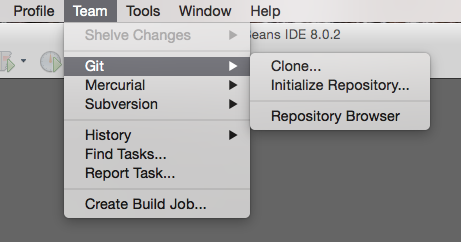
On the main menu bar, select “Team”, then “Git”, then “Initialize Repository”.
This will bring up a dialog which allows you to select the directory where the local repository will reside. It is suggested that the subdirectory name match the project name, since this name will identify the repository.
Pull the Remote Repository Contents to Your Local Repository
Open the Git Repository Browser window pane by the menu selection Team -> Git -> Repository Browser.
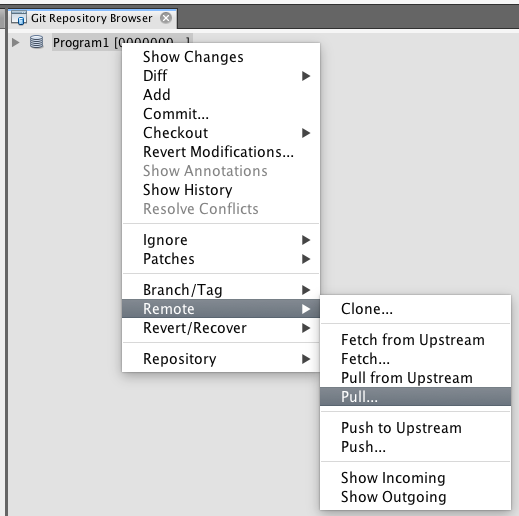
In the Repository Browser, right click on the repository name, select “Remote” and then “Pull”.
The remote repository is specified in the same ways as in the “Push to Remote Repository” above.
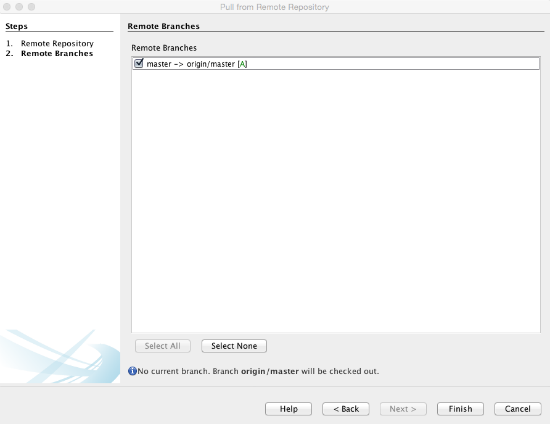
After clicking “Next”, you’ll be asked to select the remote branches. Select “master” and click “Finish”.
You have now updated your local repository with the contents of the remote repository.
Checkout the Code
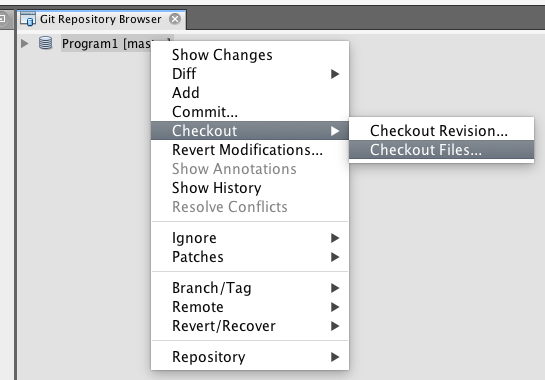
The last step is to checkout and open the NetBeans project. Right click again on the local repository in the Repository Browser. Select “Checkout” and then “Checkout Files…”.
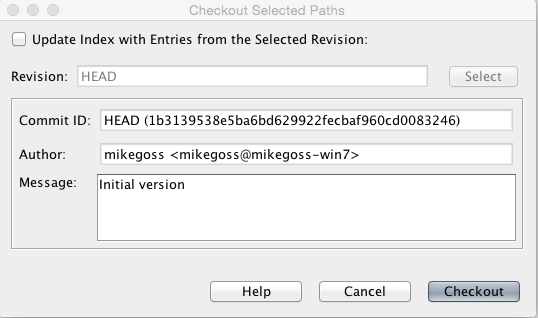
Then just click “Checkout” on the resulting dialog.
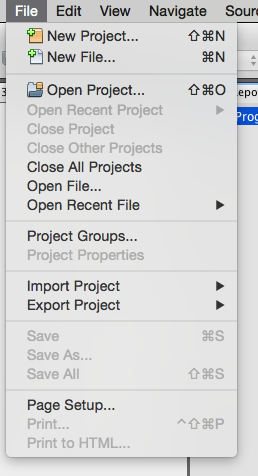
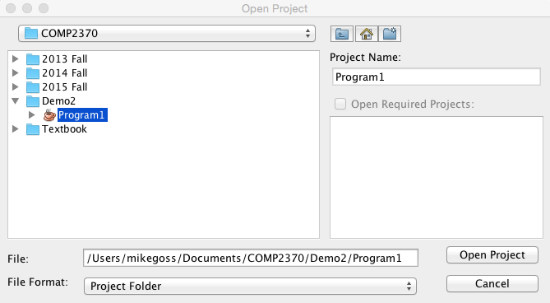
Finally, from the main menu, go to File -> Open Project.
Browse to the directory containing the local repository that you created above. Click on “Open Project”, and you’ll see the project in the Projects panel on the left side. You can now work with the project in NetBeans.

